In this guide
- 01 How a sous-vide circulator works
- 02 Temperature controls texture, not just doneness
- 03 Temperature guide
- 04 Timing guide
- 05 How to get a proper sear
- 06 Food safety at low temperatures
- 07 What works well and what doesn’t
- 08 Common mistakes and how to fix them
- 09 Cleaning and maintenance
- 10 Sources
Key facts: Sous vide immersion circulators maintain water temperature within ±0.1°C of the target — precision that no other home cooking method can match. At 54.4°C (130°F), a 1-inch beef steak reaches pasteurization safety after 2 hours according to USDA guidelines, compared to an instant kill at 74°C (165°F) — the same level of safety, achieved at a lower temperature over time.
How a sous-vide circulator works
Water is roughly 25 times more efficient at transferring heat than air. That’s why a 200°C oven and an 85°C water bath feel completely different when you put your hand near them — and why a sous-vide bath at 54°C can cook a steak to a precise medium-rare while a 54°C oven would do essentially nothing. The physics favour water.
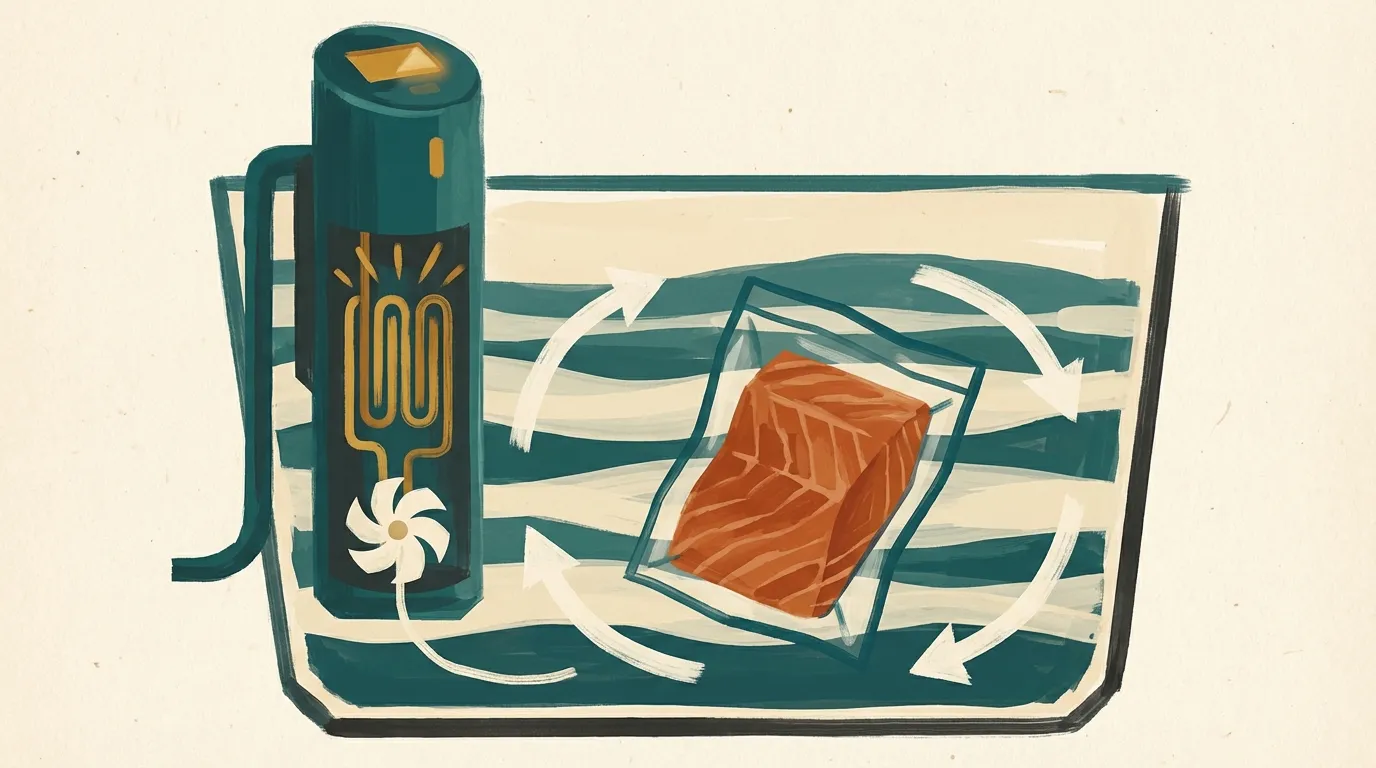
A circulator works by drawing water through a heating coil and pumping it back out continuously. The result is a bath where every part of the water is within ±0.1°C of the target temperature on most consumer models. That consistency is the whole point. The food sits in the water and equilibrates to exactly that temperature — no more, no less.
The vacuum seal (or tight zip-lock bag with the air displaced) does two things. First, it removes the insulating air layer that would otherwise sit between the water and the food and slow heat transfer. Second, it keeps the food in direct contact with the water rather than floating on the surface. Without the seal, you’d lose much of the precision advantage and introduce uneven results.
The circulator doesn’t turn itself off when the food is done. Unlike a conventional cooking method where the food’s temperature rises until you pull it out, sous-vide food equilibrates to the water temperature and stays there. This is the basis of the hold window — you can leave a chicken breast at 60°C for 2 hours or 4 hours and the texture difference will be minor.
Temperature controls texture, not just doneness
This is the key mental shift from every other cooking method. In an oven or a pan, temperature is mostly a dial for speed — higher heat cooks faster. In sous-vide, temperature directly controls what the food becomes at a molecular level.
Different proteins set at different temperatures. Myosin — the protein primarily responsible for juiciness and tenderness in meat — begins to denature around 50–54°C. Actin — the protein responsible for toughening and the dry, chalky texture of overcooked meat — sets at 65°C and above. This means chicken cooked at 60°C and chicken cooked at 66°C are not just “more cooked” and “less cooked” — they are structurally different foods. (Source: Baldwin, Douglas. A Practical Guide to Sous Vide Cooking. 2012. Available at: douglasbaldwin.com) The first has mostly set myosin with actin still intact, producing a juicy, almost custard-like texture. The second has set both proteins, producing firmer, drier meat.
In a conventional oven or pan, a 2°C difference in target temperature is largely irrelevant — you’re working with gradients and margins that overwhelm that precision. In sous-vide, 2°C is a real threshold. The bath temperature you choose is the texture you get.
Collagen follows a different logic. At temperatures above 70°C, collagen in tough cuts begins to convert to gelatin — a slow process that takes hours. Sous-vide excels here too: a short rib at 80°C for 48 hours converts collagen fully without ever drying out, because the temperature never climbs past the point where actin sets and the meat tightens.
Temperature guide
| Food | Temp | Time range | Result |
|---|---|---|---|
| Beef steak (rare) | 52°C (126°F) | 1–2.5 hrs | Deep red, very tender, fully pasteurized with sufficient hold |
| Beef steak (medium-rare) | 54–56°C (130–133°F) | 1–4 hrs | Rosy pink edge to edge, classic steakhouse texture |
| Beef steak (medium) | 60°C (140°F) | 1–4 hrs | Pale pink, firmer bite, less juicy than medium-rare |
| Chicken breast | 60–63°C (140–145°F) | 1.5–4 hrs | Juicy, sliceable; 60°C is custard-tender, 63°C is more traditional |
| Chicken thigh (boneless) | 65–68°C (149–154°F) | 1.5–4 hrs | Tender, slightly firmer than breast; thighs tolerate higher temp well |
| Salmon fillet | 50–52°C (122–126°F) | 30–45 min | Translucent, silky, barely set — very different from conventional cooked salmon |
| Pork tenderloin | 58–60°C (136–140°F) | 1–3 hrs | Pale pink, juicy; safe and pasteurized at hold time |
| Pork chop | 58–63°C (136–145°F) | 1–4 hrs | 58°C for juicy and pink; 63°C for more conventional texture |
| Eggs (soft set) | 63°C (145°F) | 45–75 min | White barely set, yolk liquid and warm — onsen egg style |
| Eggs (set white, jammy yolk) | 75°C (167°F) | 13–15 min | Fully set white, thick jammy yolk that holds its shape |
| Duck breast | 57°C (135°F) | 1.5–3 hrs | Rosy and tender; finish skin-side down in a hot pan to render the fat |
| Carrots / firm vegetables | 85°C (185°F) | 1–2 hrs | Fully tender, concentrated flavour; stays intact, doesn’t go mushy |
Timing guide
| Food | Temp | Min time | Max hold | Notes |
|---|---|---|---|---|
| Beef steak (2–3 cm thick) | 54°C (130°F) | 1 hr | 4 hrs | Can go directly from bath to screaming hot pan — no rest needed |
| Beef steak (3–5 cm thick) | 54°C (130°F) | 2 hrs | 6 hrs | Thicker cuts need more time to reach temp throughout |
| Chicken breast (boneless) | 60°C (140°F) | 1.5 hrs | 4 hrs | Texture starts to degrade past 4 hrs; still safe, just mealy |
| Chicken thigh (boneless) | 65°C (149°F) | 1.5 hrs | 5 hrs | More forgiving than breast; fat content protects texture |
| Salmon fillet | 50°C (122°F) | 30 min | 45 min | Very short window; check at 30 min and pull immediately when done |
| Pork tenderloin | 58°C (136°F) | 1.5 hrs | 3 hrs | Slice across the grain after searing |
| Duck breast | 57°C (135°F) | 2 hrs | 3 hrs | Finish skin-side down in dry pan until fat renders and skin crisps |
| Eggs (soft set) | 63°C (145°F) | 45 min | 75 min | Crack directly over bowl or ramen — white stays loosely gathered |
| Eggs (jammy yolk) | 75°C (167°F) | 13 min | 15 min | Precise — pull at 13 min and cool in ice water immediately |
| Carrots (sliced 1 cm) | 85°C (185°F) | 1 hr | 2 hrs | Season and butter in the bag; no finishing needed |
| Short rib (bone-in) | 80°C (176°F) | 24 hrs | 48 hrs | Collagen fully converts; texture resembles braised but without drying |
| Chuck roast | 60°C (140°F) | 24 hrs | 48 hrs | Lower temp for steaky texture; higher temp (80°C) for braise-like result |
How to get a proper sear
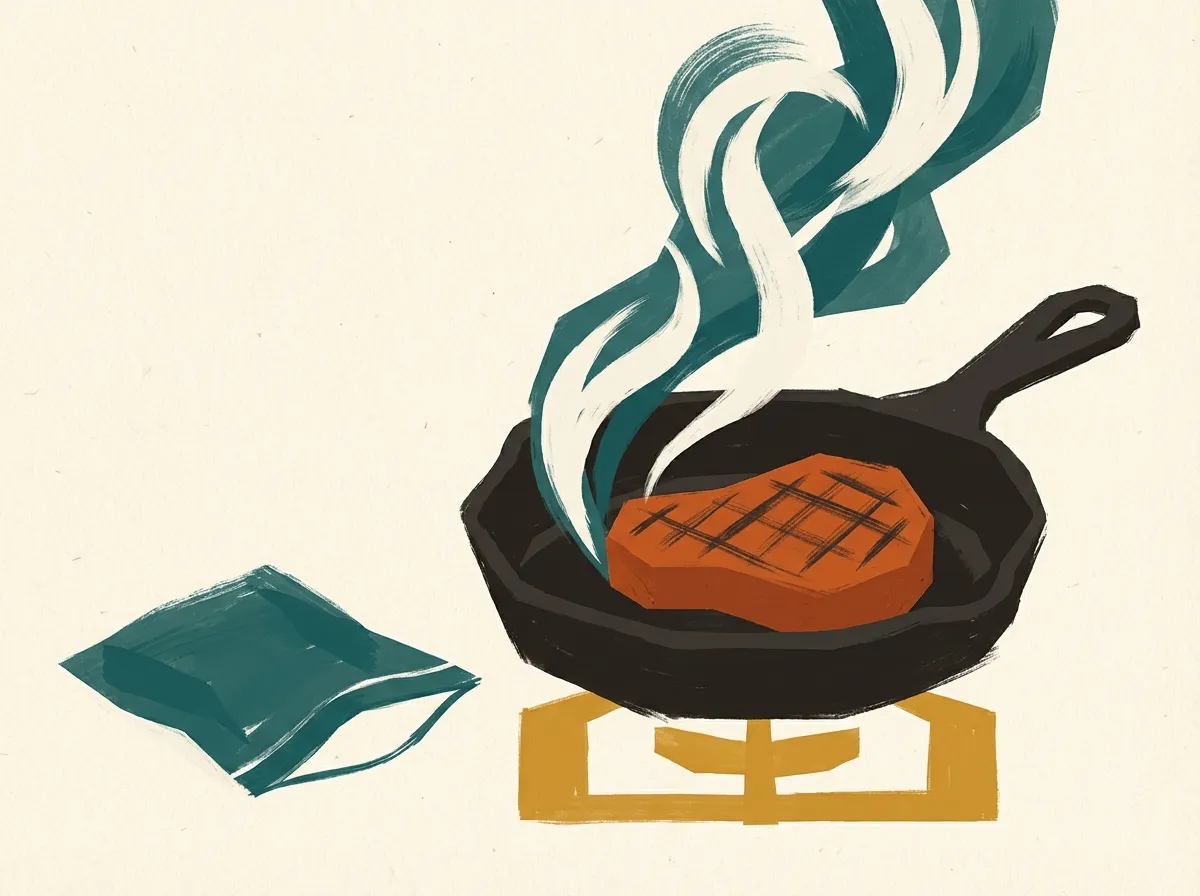
The water bath finishes the interior of the food but leaves the exterior pale and textureless. The Maillard reaction — the browning that creates crust, colour, and flavour — requires a dry surface and temperatures above roughly 140°C. The bath achieves neither. The sear is not optional.
Pat completely dry first. This is the single most important step and the most commonly skipped. When food comes out of a vacuum bag, the surface is wet — a combination of moisture driven out during cooking and condensation from the temperature difference. Steam is the enemy of browning. A wet surface will steam in the pan instead of searing, and you’ll end up with pale, grey meat no matter how hot your pan is. Pat dry with paper towels on all sides, pressing firmly. Then let the food rest uncovered on a rack for 2–3 minutes before it goes near the pan.
Use the right pan and get it properly hot. Cast iron or carbon steel at maximum heat. These hold temperature when the food hits the pan; a thin stainless pan will lose heat and the surface temperature will drop, extending the searing time and starting to cook the interior. Add a high smoke point oil — avocado, clarified butter, or grapeseed — just before the food goes in.
Keep it short: 45–60 seconds per side maximum. You are browning the exterior only. The interior is already cooked to your target temperature throughout. Every second beyond 60 seconds per side is cooking the interior past your target and undoing the precision you just spent an hour or more achieving. For a steak, you want an aggressively hot pan and a fast sear. Add butter, garlic, and thyme in the last 30 seconds and baste.
Do not rest the food afterward. Conventional rest time serves two purposes: it allows carryover cooking to finish, and it lets heat redistribute from the hot exterior to the cooler interior. Neither applies here. There is no carryover cooking happening — the food is already at equilibrium temperature throughout. And there is no cool interior to redistribute heat into. Resting sous-vide food just lets it cool down. Sear it, slice it, plate it.
Food safety at low temperatures
This question comes up every time someone first encounters sous-vide chicken at 60°C or salmon at 50°C. The short answer: pasteurization is a function of time and temperature together, not temperature alone.
The FDA’s 74°C (165°F) recommendation for poultry is the instant-kill threshold — at that temperature, pathogens die essentially on contact. It’s the fastest route to food safety, not the only route. The same level of bacterial reduction (a 5-log reduction, meaning a 99.999% kill rate for Salmonella) can be achieved at lower temperatures if the food is held there long enough. (Source: USDA Food Safety and Inspection Service. Pasteurization Time-Temperature Tables. USDA, 2017)
| Temp | Hold time for 5-log Salmonella reduction (chicken) |
|---|---|
| 57°C (135°F) | 30 min |
| 60°C (140°F) | 12 min |
| 63°C (145°F) | 1 min |
| 74°C (165°F) | Instant |
The critical requirement is that the entire piece of food must reach that temperature — not just the surface. This is why minimum times in the timing guide above exist. A thin chicken breast at 60°C reaches its core temperature in about 30–40 minutes; keeping it there for a total of 1.5 hours more than covers the pasteurization requirement with margin to spare.
The vacuum seal also helps here. Sous-vide eliminates the recontamination risk that comes with handling food after cooking. Once it’s in the bag and in the bath, it’s sealed until you’re ready to sear and serve.
One genuine risk to be aware of: if you’re planning to cook-chill (cook sous-vide, then refrigerate in the bag for later), cool the food rapidly in an ice bath before refrigerating. Don’t leave a sealed bag of cooked chicken sitting at 40–55°C as it slowly cools — that’s the temperature range where Clostridium perfringens can grow.
What works well and what doesn’t
Works well:
Steak is the canonical showcase. Sous-vide produces a perfectly even doneness from edge to edge with no gray band — a result that’s essentially impossible to achieve reliably any other way at home. Medium-rare throughout, crust applied in the last 90 seconds. The hold window means you can have 6 people eating at the same time without juggling pan timing.
Chicken breast is where sous-vide makes the biggest practical difference. Breast meat cooked conventionally is overcooked nine times out of ten because the margin between safe and dry is so narrow. At 60°C for 1.5–2 hours, chicken breast is juicy, sliceable, and safe — a texture that’s genuinely different from anything you can achieve in a pan or oven.
Eggs at 63°C for 45–75 minutes produce a texture that can’t be replicated any other way: a fully coagulated but trembling white, with a yolk that is warm, thick, and liquid but not runny. It’s the onsen egg, the poached egg perfected, the ramen egg. Once you’ve tasted it, conventional poaching feels approximate.
Salmon at 50°C is a revelation if you’ve only ever eaten conventionally cooked salmon. The flesh is translucent, silky, and barely cohesive — the proteins have set but not contracted. It’s the difference between salmon and good salmon.
Tough cuts over extended times. A 48-hour short rib at 80°C, a 24-hour chuck at 60°C — the collagen converts to gelatin fully, the connective tissue melts, and the meat never dries out because it never goes above the target temperature.
Doesn’t work:
Anything where high-heat browning throughout is the point. Crispy roast chicken skin requires oven convection and continuous dry heat circulating over the skin — a post-bath sear can brown the skin on a spatchcocked bird reasonably well, but it’s not the same as a proper roast. If crispy skin from top to bottom is the goal, use the oven.
Delicate fish that falls apart in the bag: sole, flounder, very thin white fish fillets. The bags create physical pressure and the fish turns into segments. These do better in a pan with butter, gently.
Anything designed to cook in liquid: braises, stews, soups, risotto. The bag traps the liquid, the flavours don’t develop the same way, and the evaporation and reduction that define these dishes don’t happen. Use a Dutch oven.
Leafy vegetables, soft herbs, anything with a lot of surface area and delicate structure. They compress, discolour, and release liquid in a way that’s unpleasant. Blanch leafy greens. Reserve fresh herbs for finishing.
Common mistakes and how to fix them
Not patting dry before searing. The most common mistake and the most damaging to the final result. The bag creates condensation on the food’s surface. That moisture turns to steam the moment it hits the hot pan, which cools the pan surface and prevents the Maillard reaction from starting. The food steams instead of searing. You end up with grey, textureless meat after all that careful temperature control. Pat firmly with paper towels, both sides, every surface. Let it air-dry on a rack for a few minutes before searing.
Off by 2°C. In conventional cooking, being 2°C off your target is irrelevant. In sous-vide, it can mean the difference between juicy chicken and dry chicken, or between rosy steak and grey steak. Set your circulator to your actual target and verify it with a probe thermometer for the first few cooks to confirm your circulator’s calibration. Cheap circulators can run a few degrees off their display.
Floating bags. If there’s a significant air pocket in the bag, that air insulates the food from the water. The result is uneven cooking — the side facing the air will be underdone compared to the side in direct contact with the water. Fix: use the water displacement method (lower the open bag slowly into the water and let water pressure push the air out before sealing), use a vacuum sealer, or clip the top of the bag to the container edge to keep it fully submerged.
Skipping the sear. The food comes out of the bag looking pale and unappetizing. Some people taste it and call it good enough. Don’t. The sear is not finishing or gilding — it’s a functional step that adds the crust, colour, flavour, and textural contrast that makes the dish complete. A sous-vide steak without a sear is not a finished steak.
Searing too long. You spent an hour or more getting the interior to exactly 54°C. Every second past 60 seconds per side at screaming-hot heat is cooking the interior past that target. The goal is colour on the exterior in the shortest time possible. Use the hottest pan you have, the highest smoke point oil you have, and pull the food after 45–60 seconds per side — not when it “looks done,” but on a timer.
Cleaning and maintenance
The circulator requires simple but regular care. After each use, wipe the stainless steel probe and the impeller housing with a damp cloth. Food particles on the probe affect temperature accuracy over time and can harbour bacteria. The impeller — the small propeller that circulates the water — should spin freely; if it’s sluggish, it usually means food debris has gotten into the housing.
Descale every 3–6 months depending on how hard your water is. Mineral deposits accumulate on the heating coil and the probe, reducing heating efficiency and eventually causing premature failure. Fill your container with a 1:1 solution of white vinegar and water, run the circulator at 60°C for 30 minutes, then rinse thoroughly. Citric acid solution works just as well and has less smell. If you cook sous-vide frequently in hard water areas, monthly descaling is not excessive.
The container needs no special care — it’s just a vessel. A large stockpot works perfectly. Some cooks use a dedicated polycarbonate container with a lid that has a notch cut out for the circulator; the lid reduces evaporation on long cooks (8+ hours) and keeps the temperature more stable. For anything under 4 hours, a lid isn’t necessary.
Bags: use single-use bags for proteins. Reusing bags that held raw chicken or fish is a contamination risk. For vegetables or already-cooked items, reuse is fine — wash in hot soapy water and inspect for damage before reusing. Vacuum sealer bags are more durable than zip-lock bags and worth it for extended cooks where a bag failure means starting over.
Change the water if it becomes cloudy or after any cook over 12 hours. Mineral deposits accumulate faster with repeated use, and cloudy water can indicate bacterial growth, particularly in lower-temperature cooks. For any cook at 55°C or below, start with fresh water.
Sources
- Baldwin, Douglas. A Practical Guide to Sous Vide Cooking. 2012. Available at: douglasbaldwin.com.
- USDA Food Safety and Inspection Service. FSIS Compliance Guidelines: Cooking Guidance. USDA, 2017.
- McGee, Harold. On Food and Cooking: The Science and Lore of the Kitchen. Scribner, 2004.