In this guide
Key facts: A sealed pressure cooker raises internal pressure to 15 psi (1 bar above atmospheric), which elevates the boiling point of water from 100°C to 121°C (250°F). This higher temperature cuts cooking time for tough cuts by 60–70% compared to conventional braising — beef stew that takes 2.5 hours on the stovetop is done in 35–40 minutes.
How a pressure cooker actually works
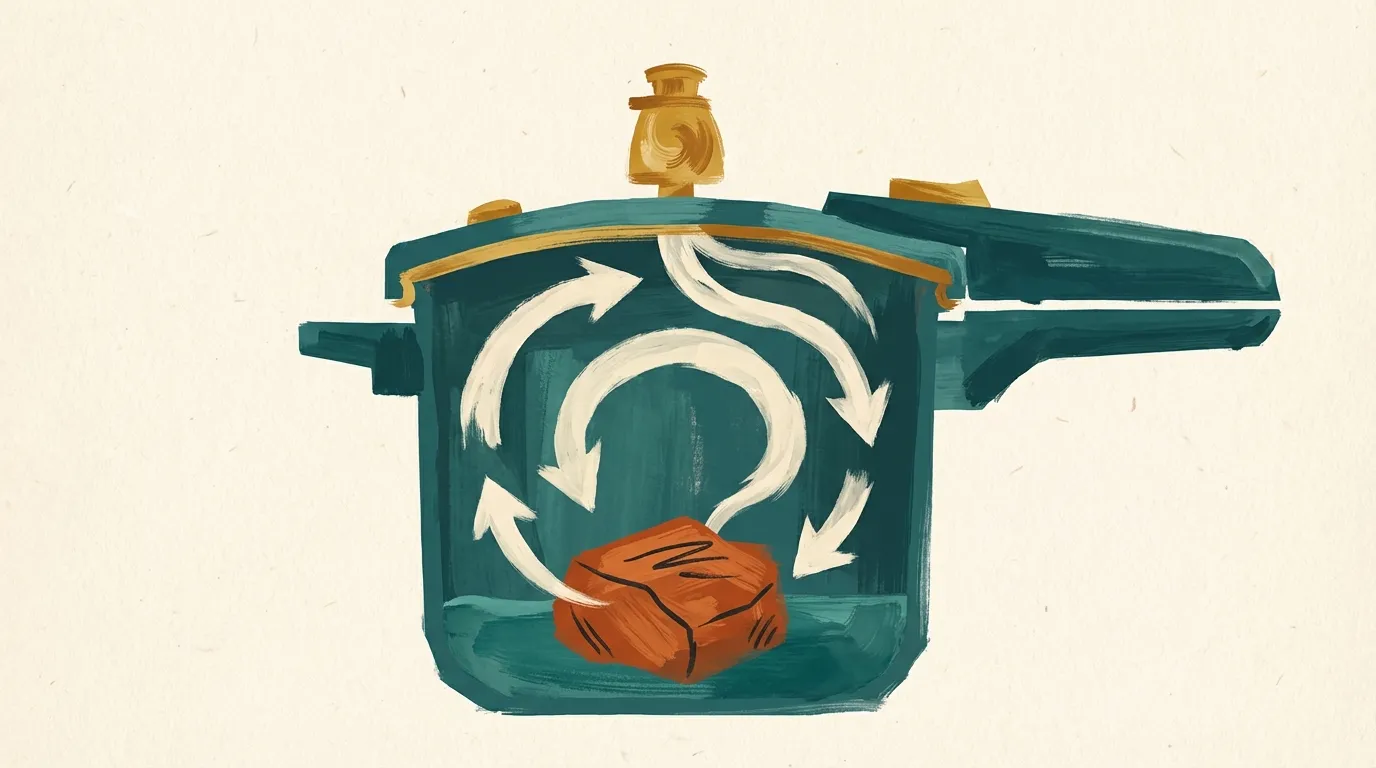
A pressure cooker traps steam inside a sealed cavity, and that single fact changes everything about how the food cooks. In an ordinary pot, water boils at 100°C (212°F) and can’t get any hotter no matter how hard you crank the burner — the energy goes into converting water to steam, not raising the temperature. A pressure cooker’s locked lid prevents that steam from escaping. As steam accumulates, pressure inside the pot rises, and under higher pressure, water needs more energy to boil. The boiling point climbs from 100°C to roughly 120°C (248°F) at standard high pressure. That 20-degree gap is the entire mechanism. The food is cooking in liquid that is genuinely hotter than is possible in any open vessel. (Source: McGee, Harold. On Food and Cooking. Scribner, 2004, p. 800)
The sealed cavity also traps all moisture and volatile aromatics. Nothing evaporates. Braising liquid that would reduce to almost nothing on the stovetop after two hours stays at roughly the same volume throughout a pressure cooking session. This means flavors concentrate inside the food rather than disappearing into the kitchen air.
Three components make the system safe. The gasket is a rubber or silicone ring that seals the lid against the pot body — if it’s cracked or deformed, the pot can’t build pressure. The pressure release valve vents excess steam to keep pressure from climbing beyond the design limit, and it’s also how you manually release pressure at the end of cooking. The float valve (the small pin that pops up during pressurization) acts as both a pressure indicator and a safety interlock on most modern pots: it physically blocks the lid from opening while the pot is still under pressure.
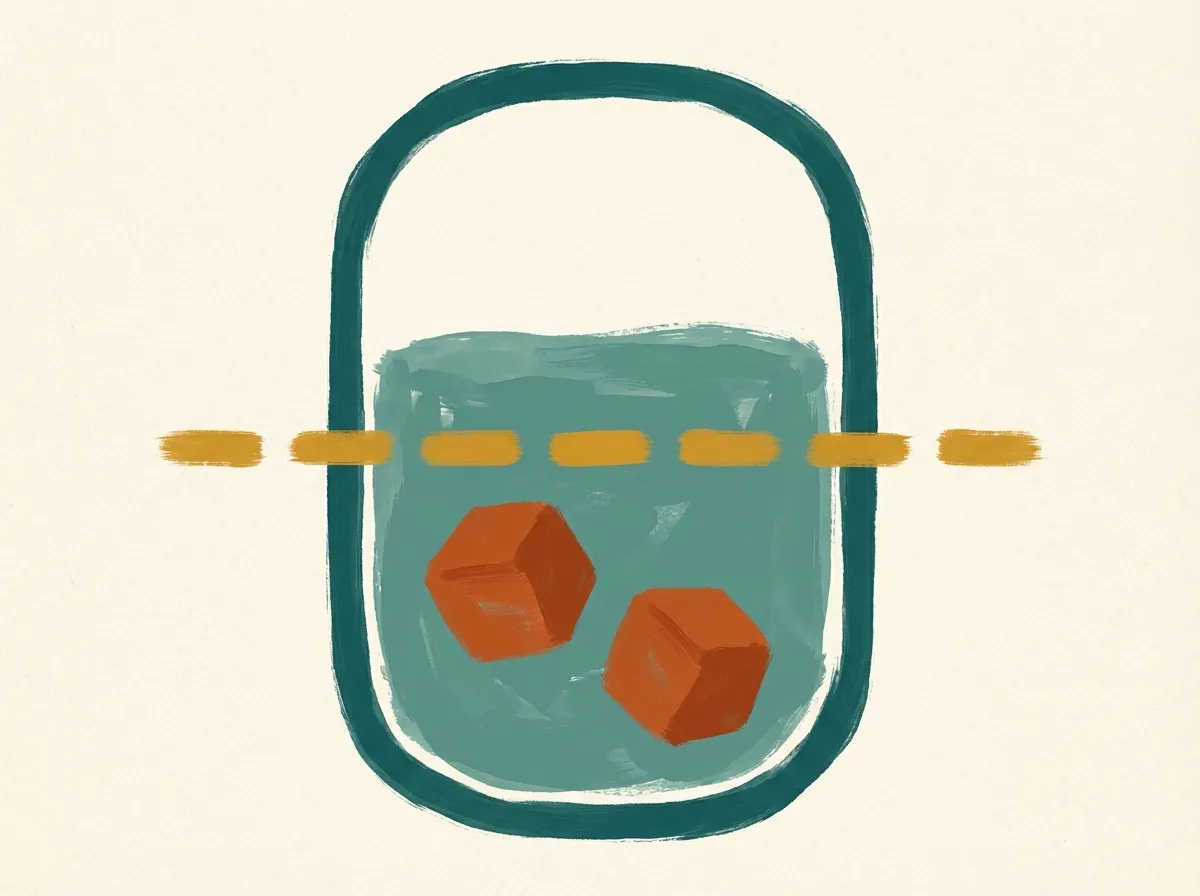
Pressure levels: high vs low
Most pressure cookers and all electric models offer two settings: high pressure (14–15 psi, approximately 120°C / 248°F) and low pressure (7–8 psi, approximately 110°C / 230°F).
High pressure is the default for almost everything. Tough cuts of meat, dried legumes, dense root vegetables, and stock all benefit from the maximum temperature. The collagen in connective tissue converts to gelatin faster at 120°C than it does at any temperature achievable in an open pot, which is why a chunk of beef chuck that would need 3 hours in the oven is done in 35 minutes under pressure.
Low pressure is for foods that are either structurally delicate or chemically sensitive to high heat. Eggs cooked at high pressure turn rubbery; at low pressure, they come out with the same creamy texture as stovetop soft-boiled. Fish falls apart at high pressure. Dishes with dairy — cream sauces, custards, milk-based chowders — can curdle or separate at 120°C but hold together at 110°C.
The practical rule: when you’re unsure, use high pressure and check doneness early. Bringing a pressure cooker back up to pressure after a quick check takes only about 3 minutes. It’s much easier to add a minute than to undo overcooked food.
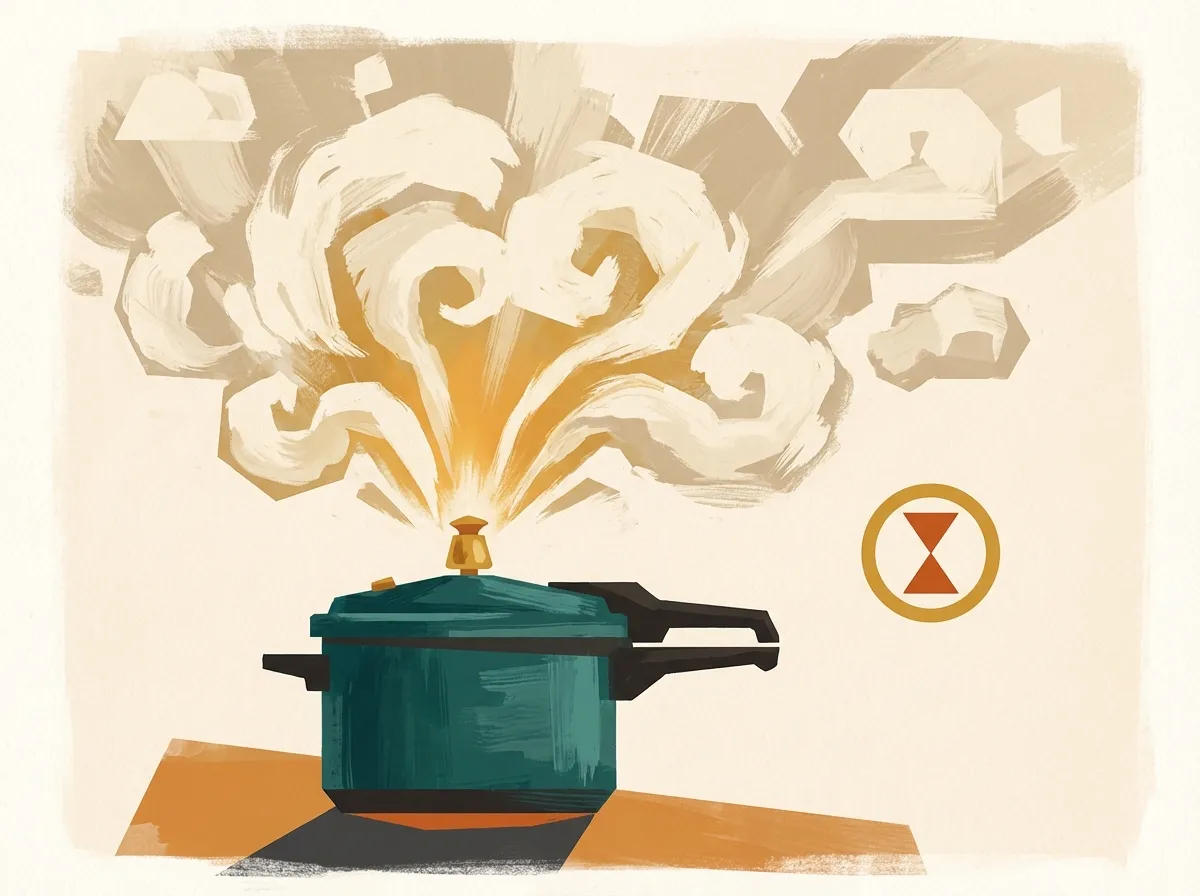
Natural release vs quick release
How you release pressure at the end of cooking matters as much as time and pressure level. The two methods produce physically different results in the same food.
Quick release means turning or pressing the steam valve immediately when the timer goes off. Pressure drops in about 60 seconds as steam vents forcefully. The cooking stops fast. Use quick release for vegetables, eggs, rice, grains, fish, and anything with a narrow window between done and overcooked. Chicken breast at 8 minutes under high pressure is ideal — another 10 minutes of residual heat during a natural release would dry it out.
Natural release means leaving the pot sealed with the heat off and letting pressure drop on its own over 10 to 25 minutes. During this time, the food continues cooking in the pressurized environment as everything slowly cools. Use natural release for tough cuts that need collagen fully converted, large pieces of meat, and beans — the gradual pressure drop keeps bean skins intact and prevents the meat fibers from tightening suddenly.
10-minute natural release is the standard approach for most meat recipes. Let the pot sit sealed for 10 minutes, then vent the remaining pressure manually. It gives connective tissue one more window to relax without pushing lean cuts into overcooking territory.
Timing guide
Unlike an oven or air fryer, pressure cooking doesn’t let you check on food and continue. Once the lid locks, cooking happens at a fixed rate inside the sealed cavity. You can’t open the pot, poke a piece of chicken, and close it again without losing all your pressure and starting the come-up cycle over. The best approach is to set a timer for the minimum time shown below, release pressure, check doneness with a probe thermometer or by cutting, and re-seal for 1 to 2 more minutes if needed. Coming back to pressure takes about 3 minutes, so a 2-minute correction adds roughly 5 minutes total.
| Food | Pressure | Time | Release | Notes |
|---|---|---|---|---|
| Beef chuck (3 cm pieces) | High | 35 min | Natural 10 min | Fork-tender; still holds shape |
| Beef short ribs | High | 45 min | Natural 15 min | Falls from bone |
| Whole chicken (1.5 kg) | High | 25 min | Natural 10 min | Check 74°C at thickest thigh |
| Chicken thighs (bone-in) | High | 15 min | Natural 5 min | Falls from bone; 74°C internal |
| Chicken breast (boneless) | High | 8 min | Quick | Remove immediately — overcooks fast |
| Pork shoulder (3 cm pieces) | High | 30 min | Natural 10 min | Pulls apart easily |
| Pork tenderloin (whole) | High | 4 min | Quick | Rests to 63°C; let stand 5 min |
| Dried lentils | High | 8 min | Quick | No soak needed |
| Dried chickpeas (soaked overnight) | High | 12 min | Natural 10 min | Creamy texture |
| Dried chickpeas (unsoaked) | High | 38 min | Natural 10 min | |
| Dried black beans (soaked) | High | 8 min | Natural 10 min | |
| White rice | High | 3 min | Natural 10 min | 1:1.25 water ratio |
| Whole potatoes (medium) | High | 12 min | Quick | Fork-tender throughout |
| Chicken or beef stock (from bones) | High | 45 min | Natural | Strain when cool enough to handle |
| Hard-boiled eggs | Low | 5 min | Quick | Easy to peel |
What works well and what doesn’t
Works well:
Cheap, tough cuts are where pressure cooking is unmatched. Chuck, short ribs, lamb shoulder, pork butt, oxtail — these cuts are loaded with collagen, the connective tissue that makes them chewy and stringy when cooked too quickly. Collagen converts to gelatin when held at temperature long enough, and that gelatin is what gives braised dishes their silky, sticky texture. (Source: This, Hervé. Molecular Gastronomy. Columbia University Press, 2006) At 120°C, that conversion happens in 35 to 45 minutes instead of the 3 hours it takes in a 160°C oven. The expensive cuts — tenderloin, ribeye — actually perform worse under pressure because they lack the collagen that makes the method worthwhile.
Dried legumes are the everyday workhorse. A pot of dried lentils cooks in 8 minutes under high pressure with no soaking. Chickpeas that would take all day on the stovetop come out creamy in 12 minutes from soaked, 38 from dry. Legumes cooked from dry are also nutritionally superior to canned — lower sodium, better texture, no BPA exposure from can linings.
Stock and bone broth production is transformed. A rich chicken stock that requires 4 to 6 hours of simmering on the stove comes out in 45 minutes under pressure, with the same gelatin extraction and deeper flavor. Beef bone broth that would simmer overnight is done before dinner.
One-pot braises work naturally with pressure cooking. Everything — aromatics, meat, liquid — goes in at the beginning and comes out as a finished dish. The braising liquid doesn’t evaporate away; it stays in the pot and becomes your sauce. This is a genuinely different workflow from stovetop or oven braising, where you manage reduction throughout.
For weeknights, the time math is significant. A beef stew that takes 3 hours in the oven takes 45 minutes in the pressure cooker. That’s the difference between a weekday meal and a weekend project.
Doesn’t work:
Lean proteins technically work but have essentially no margin for error. Boneless chicken breast at 8 minutes is good; at 10 minutes it’s dry and chalky. Pork tenderloin at 4 minutes hits 63°C; at 6 minutes it overshoots badly. If you cook these at all, use quick release and a probe thermometer, and accept that you’re working in a narrow window.
Browning is impossible inside a sealed pressure cooker. The Maillard reaction requires surface temperatures above 140°C (284°F) and a dry surface — conditions that cannot exist inside a pot full of steam. Everything that goes into a pressure cooker without prior browning comes out pale and gray. This is why searing before sealing isn’t optional if you want flavor.
Dairy-based dishes — cream soups, white sauces, anything with milk — will curdle or break under full pressure. The proteins in dairy denature and separate at high temperature. Add cream, milk, or sour cream after releasing pressure.
Pasta turns gummy and overcooked under pressure because starch gelatinizes aggressively at 120°C and timing becomes unforgiving. Cook pasta separately and add to the finished sauce if needed.
Large roasts over 2 kg cook unevenly because heat penetration from the pressurized liquid becomes inconsistent. The outer layers finish before the center reaches temperature, especially in thicker cuts. Cut large roasts into pieces, or use the oven for anything over 2 kg.
How to get better results
Searing meat before sealing the pot is the single biggest impact change you can make. The Maillard reaction is impossible inside the sealed, steam-filled environment — if you skip the sear, you get meat that is tender but pale, with none of the roasted, caramelized flavor that makes braises taste complex. Use the sauté setting on an electric pressure cooker, or sear in the pot itself on the stovetop before sealing. Work in batches if needed — one layer of meat at a time, space between pieces, no crowding.
Deglaze the pot after searing. All the brown, sticky fond on the bottom of the pot is concentrated Maillard flavor compounds. A splash of wine, stock, or even water loosens it, and that liquid becomes part of your braising sauce. Deglazing also prevents the scorched bits from triggering the “burn” warning on electric pressure cookers.
Sweat aromatics before sealing. Onion and garlic that go in raw contribute less than aromatics that have spent 3 to 5 minutes softening in fat in the hot pot. The same goes for tomato paste — a minute of caramelization in the pot before adding liquid deepens the flavor significantly.
The minimum liquid rule is both practical and safety-related. Most pressure cookers need at least 250 ml of liquid to generate enough steam to pressurize. For longer cooks (over 30 minutes), use 500 ml. The liquid doesn’t need to cover the food — it just needs to be there. It also becomes your sauce, so choose it intentionally: stock, wine, crushed tomatoes, or a combination.
Aromatics — onion, garlic, bay leaves, thyme, peppercorns — all survive pressure cooking without turning bitter or over-extracted. Add them freely.
Salt at the end, or at least taste before adjusting. Pressure cooking concentrates flavors because so little liquid evaporates. A recipe that calls for a teaspoon of salt in 500 ml of stovetop braising liquid that reduces by half will be twice as salty in a pressure cooker where nothing evaporates.
A splash of acid added after releasing — lemon juice, a glug of wine, a spoonful of vinegar — brightens pressure-cooked dishes that can taste slightly flat. The sealed environment compresses flavors; acid lifts them back up.
Common mistakes and how to fix them
Too little liquid is the most dangerous mistake you can make. Without enough liquid, the pot can’t generate steam, pressure doesn’t build, and the bottom of the pot scorches. On modern electric pressure cookers (Instant Pot and similar), the burn-protection sensor detects this and shuts off the heating element, displaying a “burn” error. On stovetop pressure cookers, there’s no such safety — the bottom of the pot can char badly before you notice. Always use a minimum of 250 ml; for anything cooking longer than 20 minutes, start with 500 ml.
Overfilling prevents pressure from building correctly and can block the steam valve. The maximum fill line is 2/3 of the pot’s capacity for most foods. For foods that expand during cooking — dried legumes, rice, grains — and for foamy liquids, the maximum is 1/2. A pot stuffed too full is also slower to come to pressure, which throws off your timing.
Quick release on braises produces stringy, tight meat. When you vent pressure rapidly, the sudden pressure drop causes muscle fibers to contract sharply, squeezing out moisture and tightening the texture. Tough cuts that need natural or partial release feel like they’re being chewed to rubber if you quick-release them. Always use natural release for anything that needs collagen conversion.
Opening the pot without checking the pressure indicator is a steam burn waiting to happen. The float valve or pressure indicator pin must be fully dropped — fully down, not halfway — before you attempt to open the lid. Even low residual pressure produces scalding steam when released suddenly at face level. Wait for the indicator. On stovetop cookers, this means waiting after venting; on electric models, the display will indicate when it’s safe.
Adding thick sauces before pressurizing causes scorching. Tomato paste, cream, flour-thickened sauces, and coconut milk are all prone to burning on the heating element before the pot builds pressure. Add these after releasing, and stir them into the finished liquid. For tomatoes, use crushed canned tomatoes or whole tomatoes rather than thick paste as your base liquid — add concentrated paste only in small quantities stirred in at the start.
Expecting the same evaporation as stovetop cooking leads to watery sauces. On the stovetop, a braise loses 30 to 50% of its liquid to evaporation during a 2-hour cook. Under pressure, almost nothing evaporates. If you’re adapting a stovetop recipe, start with roughly half the liquid called for, or plan to reduce the sauce after releasing. Use the sauté setting on electric models to simmer the sauce down to the consistency you want after cooking.
Cleaning and maintenance
The gasket needs attention after every cook. Remove it from the lid, wash it with warm soapy water, and inspect it for cracks, tears, or deformation. A damaged gasket can’t hold a seal, and a seal that leaks slowly means the pot never reaches full pressure. Gaskets also absorb cooking odors over time, especially from strongly spiced dishes. If your gasket smells like last week’s curry despite washing, it’s time to replace it — most manufacturers sell replacements for a few dollars, and replacing annually is cheap insurance. Store the gasket off the lid (or leave the lid upside down on the pot) to prevent it from sitting compressed, which deforms the seal.
The steam valve and float valve need to be clear of food debris. A partially clogged valve is the main mechanical failure mode in pressure cookers — it either prevents the pot from reaching pressure or prevents a clean release. After every cook, remove the valve components, rinse them under running water, and hold them up to the light to confirm the openings are clear. Starchy or foamy foods (legumes, grains) are most likely to clog valves.
The inner pot is dishwasher-safe on most models, but check your manual. For stuck-on food, soak in hot soapy water — pressure cooking usually leaves minimal residue, but seared proteins can stick if deglazing was skipped.
The outer housing of electric pressure cookers should only be wiped with a damp cloth. Never submerge it or let water get into the electrical components.
Store the pot with the lid off or inverted. A lid left sealed on the pot traps moisture inside with the gasket, which promotes odor and can eventually cause mildew. Leaving the lid inverted on top of the pot lets both surfaces breathe.
Sources
- McGee, Harold. On Food and Cooking: The Science and Lore of the Kitchen. Scribner, 2004.
- This, Hervé. Molecular Gastronomy: Exploring the Science of Flavor. Columbia University Press, 2006.
- USDA Food Safety and Inspection Service. Safe Minimum Internal Temperatures. USDA, 2023.